
They say that a picture is worth a thousand words – that’s certainly the case if you’re listing items on Marketplace. A good picture can make all the difference to whether or not you make a sale. It convinces and showcases your item to the buyer in the best possible way.
We’ve asked our in-house photographer, Melvin (@jamieoliveoil), to list five tips to keep in mind as you photograph your product. If you've got more to suggest, let us know in the comments below.
Lighting
Keep lighting simple, says Melvin. Natural light is your best friend and helps bring out your items’ colors rather than shooting under artificial lighting. We suggest shooting your product at different times of the day to compare the intensity and color of natural light before picking the final photo. Pro tip: if you're in doubt, go with window lighting as you can use it with any object in most situations.
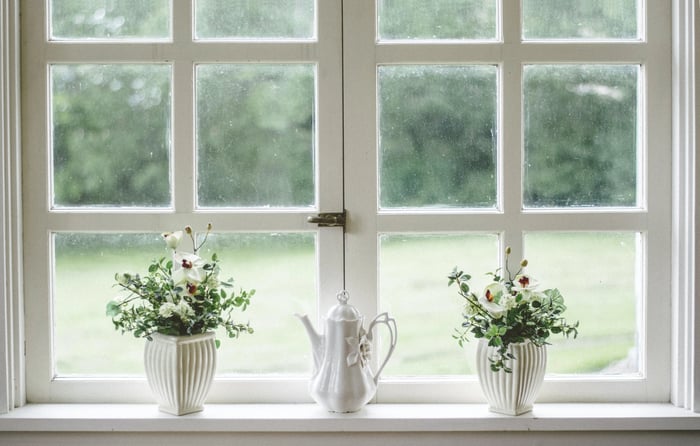 Photo: Nathan Fertig
Equipment
What's the best equipment to use? A phone camera is handy, and so is a tripod if you're well-versed in shooting professionally. If you’re new to using a tripod, be sure to stabilize it to ensure your photographs turn out sharp and clear. Otherwise, all you need in this day and age is just your phone camera.
 Photo: Taan Hyun
Framing & Composition
Unless you're photographing multiple objects in one frame, we suggest shooting a single product as it helps focus on one subject. Melvin says it's important to choose your background wisely for framing and composition as it helps elevate the product in the long run.
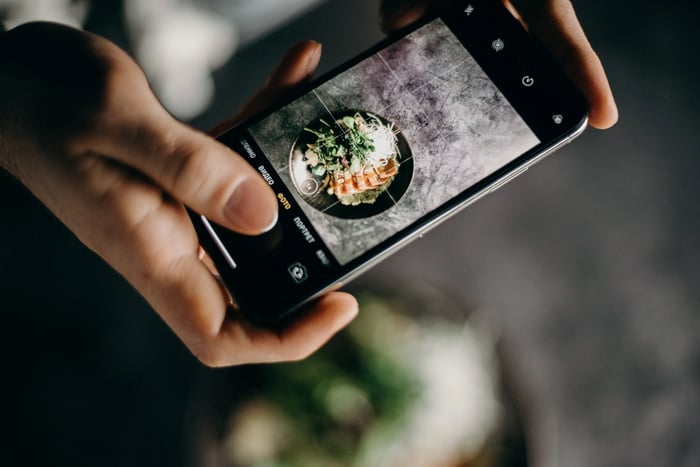 Photo: Cottonbro


